
YOGA
Goddess Pose: How to Do Utkata Konasana Correctly

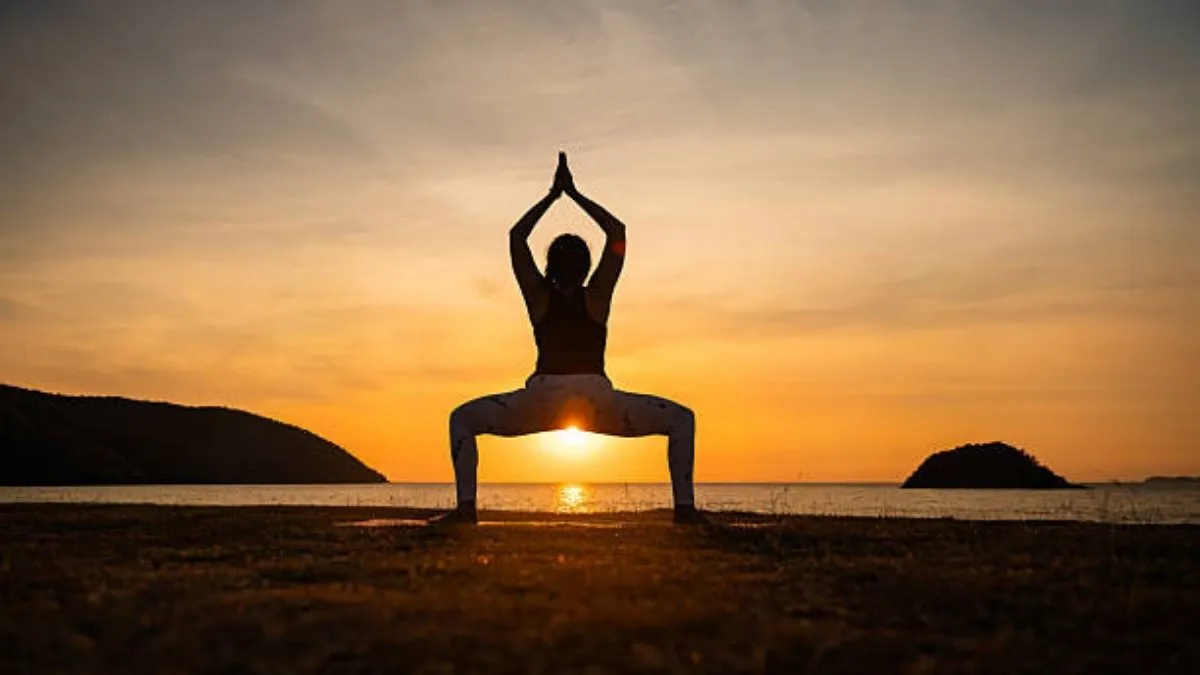
Goddess Pose, or Utkata Konasana, is often taught as “stand wide, turn the toes out, bend the knees.” That description outlines the posture but misses the interesting part: how your body loads once the knees bend.
In Goddess Pose, the feet establish the base, the hips determine how much outward rotation is available, the knees respond to that rotation, and the trunk has to stay organized while the legs work. If one link cannot do its job, another usually compensates. That is why two people can look similar in the pose while experiencing completely different sensations.
The goal, therefore, is not maximum width, turnout, or depth. It is finding a version in which you can create force, maintain control, and breathe without fighting your own anatomy.
Table of Contents
What Utkata Konasana Actually Trains
The useful way to understand Goddess Pose is as a wide-stance, externally rotated squat under sustained muscular demand.
As you lower, the quadriceps help control and support knee flexion while the hip musculature works to stabilize the pelvis and maintain the position of the thighs. Your feet aren’t passive either: their contact with the floor influences how force travels up through the ankles, knees, and hips.
This explains an easily missed point: Goddess Pose is both a mobility challenge and a strength challenge. You need enough hip and ankle mobility to enter the position, but once there, you need muscular control to remain there.
Research supports benefits from yoga programs for outcomes such as balance, flexibility, strength, and physical function. Still, that evidence should not be misrepresented as proof that Utkata Konasana alone produces all those effects. The distinction matters when evaluating yoga claims.
Find Your Stance Before You Bend
Do not begin by copying someone else’s foot position.
Stand with your feet wider than your hips and gradually turn your toes outward. The correct width lets you lower without losing contact with your foot or feeling like your hips are being forced into rotation.
Then perform a shallow squat.
Ask three questions:
- Can I keep pressure through the heel and the front of the foot?
- Do my knees move comfortably in the same general direction as my toes?
- Can I lower without feeling a twisting sensation inside either knee?
If you answer no to any of these, changing the stance is more useful than immediately trying to “fix” the knees.
This is one of the most important distinctions in Goddess Pose: alignment is an outcome of a workable position, not a command that can override anatomy.
How to Perform Goddess Pose
Once you’ve established your stance, build the posture in layers.
1. Establish the feet.
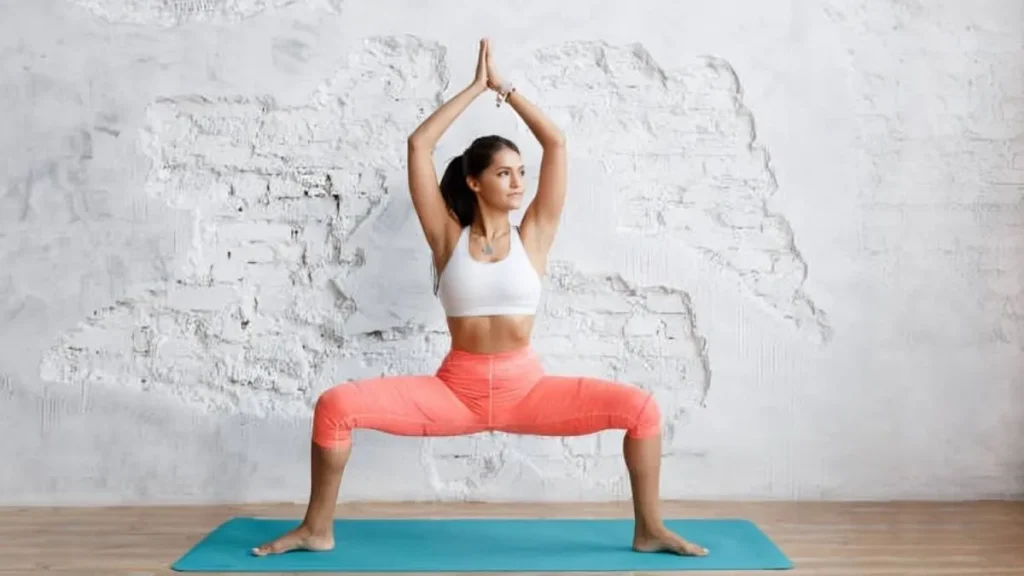
Spread your weight across the foot rather than gripping the floor with your toes. Think of the foot as a tripod: heel, base of the big toe, and base of the little toe.
2. Bend the knees.
Descend slowly instead of dropping into the bottom position. A controlled descent tells you much more about your mechanics than simply holding the finished shape.
3. Allow the hips to rotate.
The outward position of the knees should come primarily from the hip and the overall stance, not from twisting the knees sideways.
4. Keep your knees responsive.
They should remain controlled rather than collapsing toward one another as the squat becomes deeper.
5. Organize the pelvis and ribs.
Avoid deliberately arching the lower back to keep the torso “upright.” The objective is a stable trunk, not an exaggerated posture.
6. Add the arms last.
Use cactus arms, overhead arms, or another comfortable variation. If lifting the arms makes the ribs flare or the lower back uncomfortable, change the arm position rather than compromising the legs.
The Depth Test Most People Skip
A useful Goddess Pose is not necessarily a deep Goddess Pose.
Try lowering until you reach the point where your technique begins to change. Perhaps the knees start drifting inward. Perhaps one heel becomes light. Perhaps your pelvis starts moving dramatically to maintain the position.
That point is valuable information.
Return slightly above it and hold it there. You have found a working range where the muscles can train without requiring compensation you cannot control.
This approach is more useful than prescribing a fixed squat depth because hip structure, ankle mobility, leg proportions, and previous training all influence the available range.
What Your Knees Are Telling You
The instruction “push your knees out” is frequently misunderstood.
Your knees do not need to be driven as far apart as possible. They need to remain controlled in relation to the feet and hips. Excessive outward pressure can turn a useful alignment cue into another form of forcing.
If your knees collapse inward only when you approach maximum depth, reduce the depth first. If the problem disappears, the limitation may be your ability to control that range rather than a need for more aggressive turnout.
If your knees feel twisted even in a shallow position, reconsider the stance and degree of foot turnout. Do not assume that more external rotation will solve a problem created by excessive external rotation.
Persistent pain is different from muscular effort. A burning sensation in the thighs during a sustained hold is expected; sharp, catching, or joint-focused pain warrants modification and, if persistent, professional assessment.
A Better Way to Diagnose the Pose
Instead of memorizing dozens of alignment cues, use this troubleshooting map:
| What happens | First adjustment to try |
| Knees drift inward near the bottom | Reduce squat depth |
| Heels become unstable | Reassess stance width and ankle mobility |
| Knees feel twisted | Reduce forced turnout |
| Groin feels pinched | Come higher and adjust stance |
| Toes grip the floor | Relax the toes and rebuild foot pressure |
| Lower back feels compressed | Reduce rib flare and squat depth |
| Arms disturb your posture | Use cactus arms or hands on hips |
| Breathing becomes strained | Shorten the hold |
This turns discomfort into useful feedback instead of treating every deviation as a failure.
Why Foot Pressure Deserves More Attention
Many Goddess Pose instructions begin at the hips. Starting at your feet often gives you better information.
If the inner edge of the foot collapses while you squat, the knee may also lose some of its controlled path. If you respond by simply pushing the knee outward, you may be correcting the visible symptoms without addressing the foundation.
Instead, rebuild the foot: maintain contact through the heel and both sides of the forefoot, keep the toes relaxed, and then reassess the knee.
The purpose is not to create a perfectly rigid foot. It creates a stable but adaptable base from which the rest of the movement can operate.
When Goddess Pose Needs Modification
Modification is not a lesser version of the pose. It changes the demand while preserving the useful objective.
If the squat is too demanding, reduce the depth. If balance is limiting you, practice beside stable support. If the shoulders dislike the overhead position, keep the elbows bent or place the hands on the hips.
Someone returning from injury, dealing with persistent joint symptoms, or managing a significant mobility restriction should not use generalized yoga instructions as a substitute for individualized assessment.
Goddess Pose vs. a Conventional Squat
The two movements share the basic squat requirement of controlling the body while the knees bend, but their demands are not identical.
| Feature | Goddess Pose | Conventional Squat |
| Stance | Wide | Usually, narrower |
| Feet | More externally rotated | Often neutral to mildly turned out |
| Hip position | Abducted/external rotation | More forward-facing |
| Main challenge | Wide-stance control and endurance | General squat strength |
| Arms | Often part of the posture | Usually, independent |
| Best use | Positional control + endurance | Progressive lower-body loading |
Neither movement needs to replace the other. They train overlapping but different qualities.
How Long Should You Hold Utkata Konasana?
Use quality, not a predetermined number of seconds, to decide the duration.
For technique work, several slow breaths are sufficient. For endurance, multiple shorter holds can be more useful than one prolonged hold in which the knees collapse, the feet lose contact, and breathing becomes restricted.
A simple progression is:
- Establish a stable shallow squat.
- Hold for 3–5 controlled breaths.
- Rest and repeat.
- Increase duration only while the position remains consistent.
- Increase depth separately rather than changing every variable simultaneously.
This makes it easier to identify whether strength or range of motion is limiting you.
The Expert Takeaway
The most productive way to practice Goddess Pose is to stop treating it as a photograph that your body must reproduce.
Your stance determines the available hip position. Your hip position influences the knees’ path. Your feet provide the foundation for that system. Your depth determines how much force and control are required. Your breathing tells you whether you can actually sustain the position.
When those pieces cooperate, Utkata Konasana becomes less about looking like a goddess and more about demonstrating control under load.


Preparing for Your Child’s First Dental Visit: A Practical Guide for Parents

What to Look for in a Pilates Studio or Instructor

Why Recurrent Cleaning Services Keep Homes Spotless All Year

AI PPT Maker for Teachers: Turn Lesson Notes into Slides That Leave Room to Teach

Chief Technical Examiner: Roles, Rules and Responsibilities

When Should You Visit an Orthopaedic Clinic for a Sports Injury?

How to Choose an E-Bike for a More Active Everyday Lifestyle

What is Chin Mudra? Discover Its Meaning and Health Benefits

Classroom20x: Future of Hybrid Learning Explained

Exploring the World of Futbolear: A Comprehensive Guide

LeahRoseVIP: Trusted Lifestyle Magazine for Holistic Wellbeing

Daily Spine Care: Simple Habits for Less Strain and More Comfortable Movement

Switching 2nd: Understanding the Shift into Second Gear

Hamro Solar LLC: Leading Renewable Energy Solutions

Ausbeulstation: Advanced Automotive Dent Repair
-
 GENERAL1 year ago
Christofle – For Those Who Dream of Family Heirloom Silver
-
GENERAL10 months ago
Uncovering the World of кинокрадко: The Dark Side of Film Piracy
-
SPORTS3 months ago
Discover the World of Football with Streameast: Watch Your Favorite Leagues and Tournaments
-
HOME IMPROVEMENT2 years ago
Spacious and Stylish 300cm Round Rugs: Elegant and Modern Designs for a Chic Home Decor